Assessing Your Current Azure Setup
Before integrating AI into your Azure automation processes, it’s crucial to assess your current Azure environment. This assessment will help identify the strengths, limitations, and potential areas for improvement.
- Evaluate Existing Resources and Capabilities
- Take an inventory of your current Azure resources. This includes virtual machines, databases, storage accounts, and any other services in use.
- Assess the performance and scalability of these resources. Are they meeting your current needs? How might they handle increased loads with AI integration?
- Use Azure’s built-in tools like Azure Advisor for recommendations on optimizing resource utilization.
- Review Current Automation Configurations
- Examine your existing automation scripts and workflows. How are they configured and managed? Are there opportunities for optimization or enhancement?
- Consider the use of Azure Automation to streamline these processes.
- Identify Data Sources and Workflows
- Identify the data sources that your automation processes use. How is this data stored, accessed, and managed?
- Map out the workflows that are currently automated. Understanding these workflows is crucial for integrating AI effectively.
- Check Compliance and Security Measures
- Ensure that your setup complies with relevant data protection regulations and security standards. This is particularly important when handling sensitive data with AI.
- Use tools like Azure Security Center to review and enhance your security posture.
- Assess Integration Points for AI
- Pinpoint where in your current setup AI can be integrated for maximum benefit. Look for processes that are repetitive, data-intensive, or could significantly benefit from predictive insights.
- Consider the potential of Azure AI services like Azure Machine Learning and Azure Cognitive Services in these areas.
Setting Up Essential Azure Services
After assessing your Azure environment, the next step is to set up and configure the essential services that form the backbone of AI-driven automation. Here’s how you can approach the setup of these key services:
- Azure Machine Learning (AML)
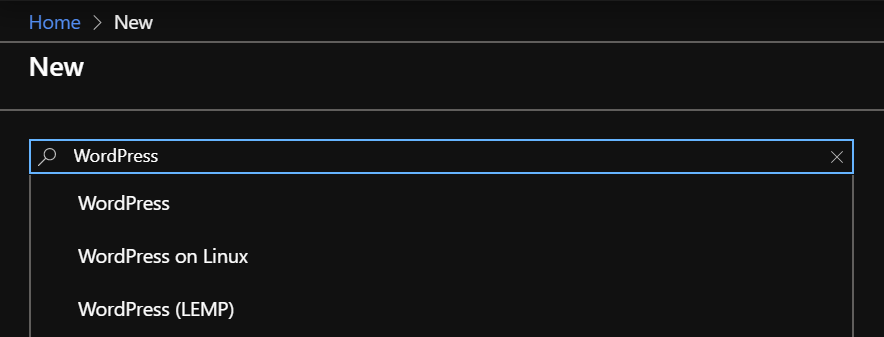
- Log into Azure Portal: Access your account at https://portal.azure.com.
- Navigate to Machine Learning: Find “Machine Learning” under “AI + Machine Learning” in the ‘All services’ section.
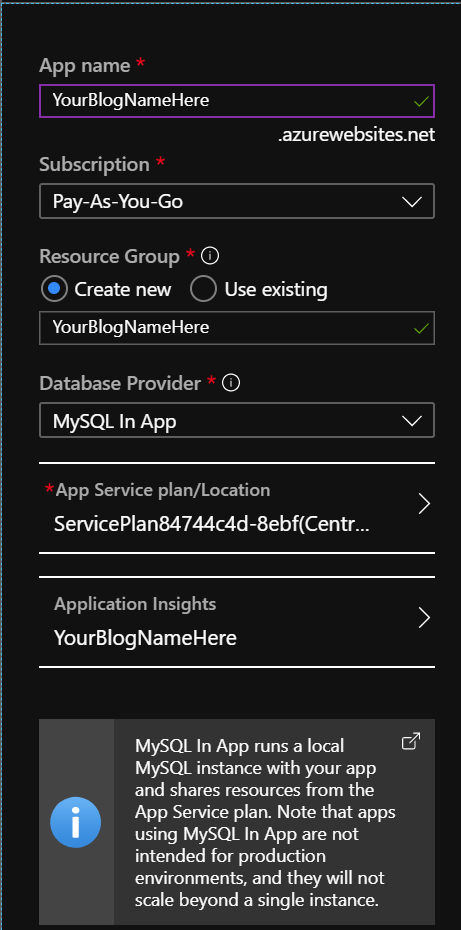
- Create a New Workspace: Click “Create” and choose your Azure subscription and resource group.
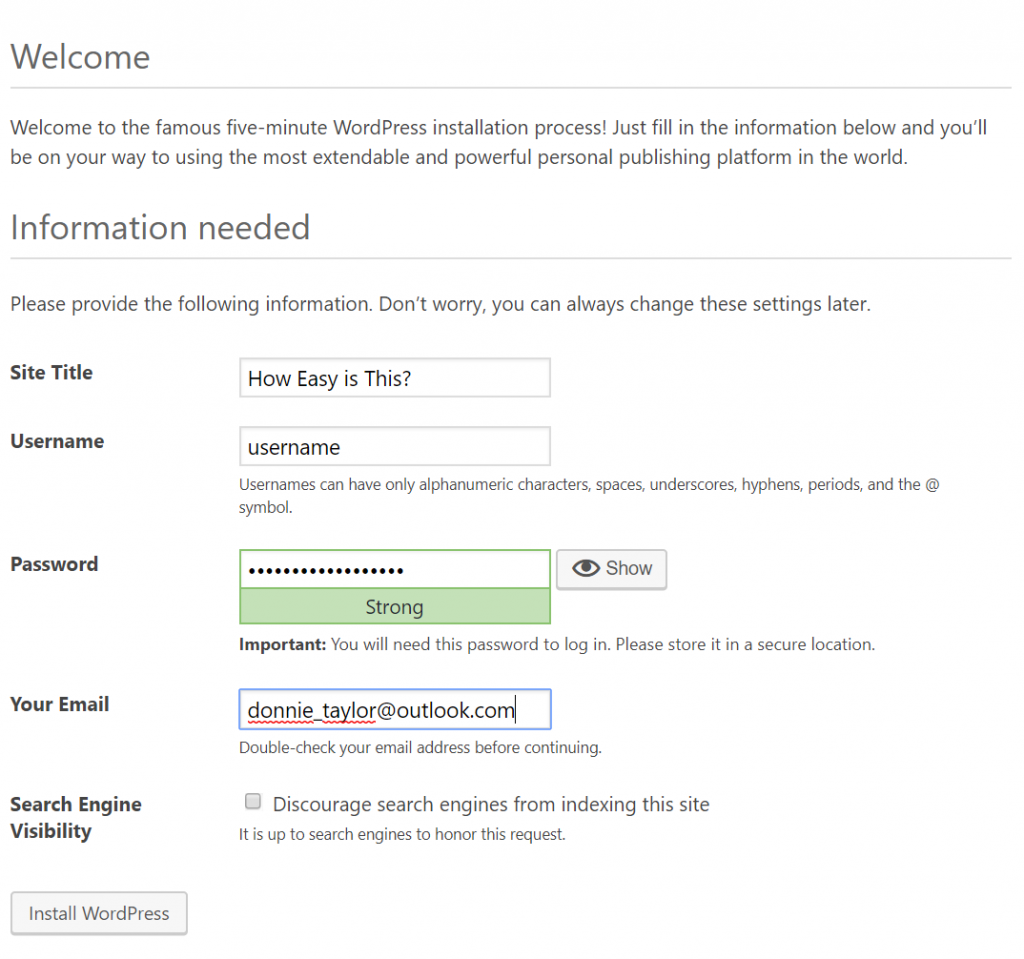
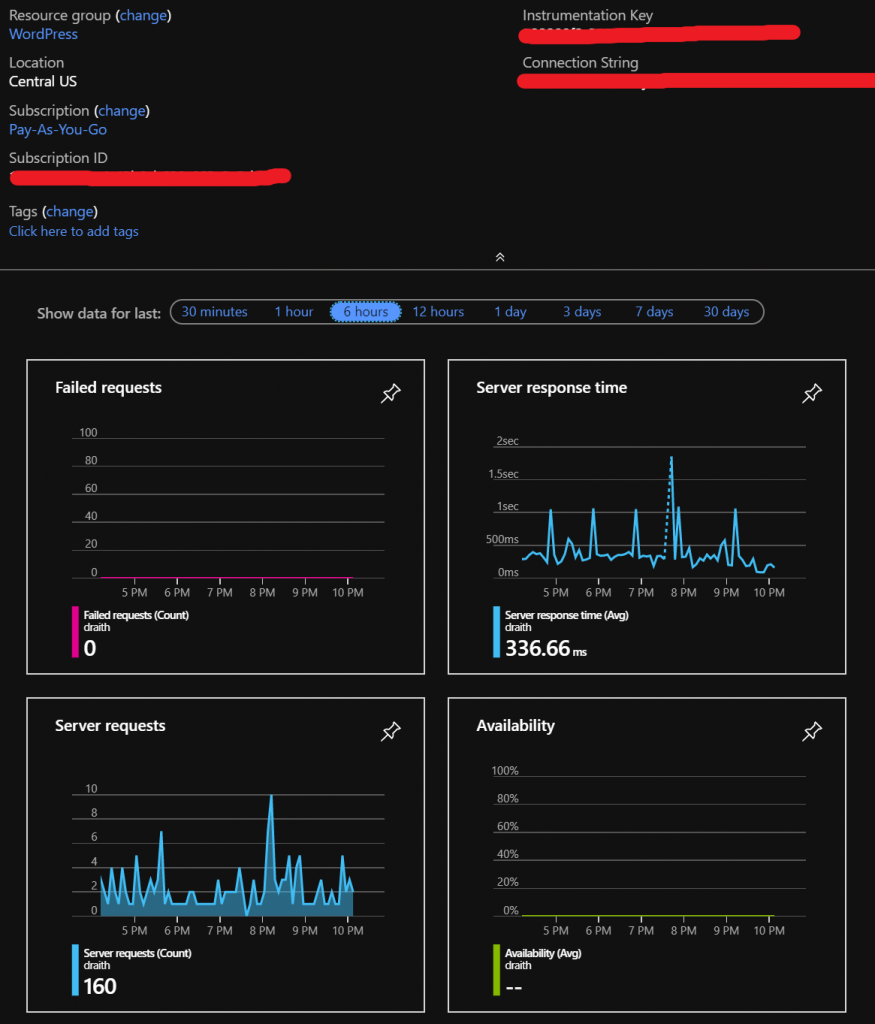
- Configure Workspace: Provide a unique name, select a region, and optionally choose or allow Azure to create a storage account, key vault, and application insights resource.
- Review and Create: Verify all details are correct, then click “Review + create” followed by “Create” to finalize.
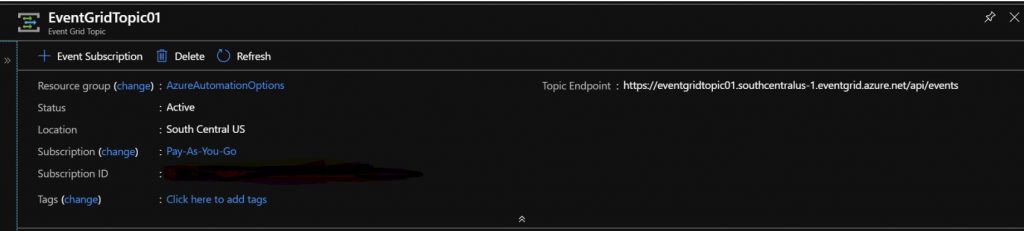
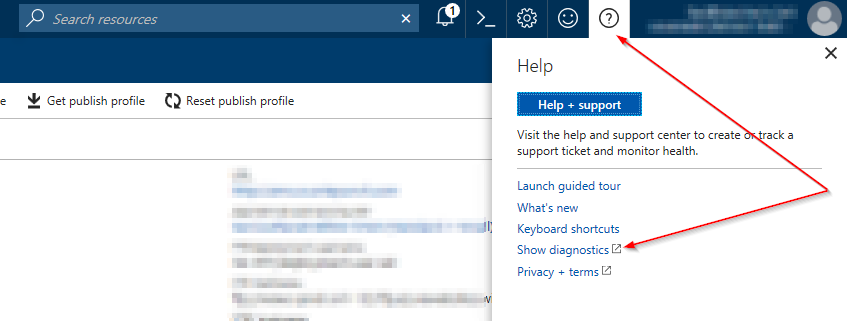
- Access the Workspace: After creation, visit your resource group, select the new workspace, and note the key details like subscription ID and resource group.
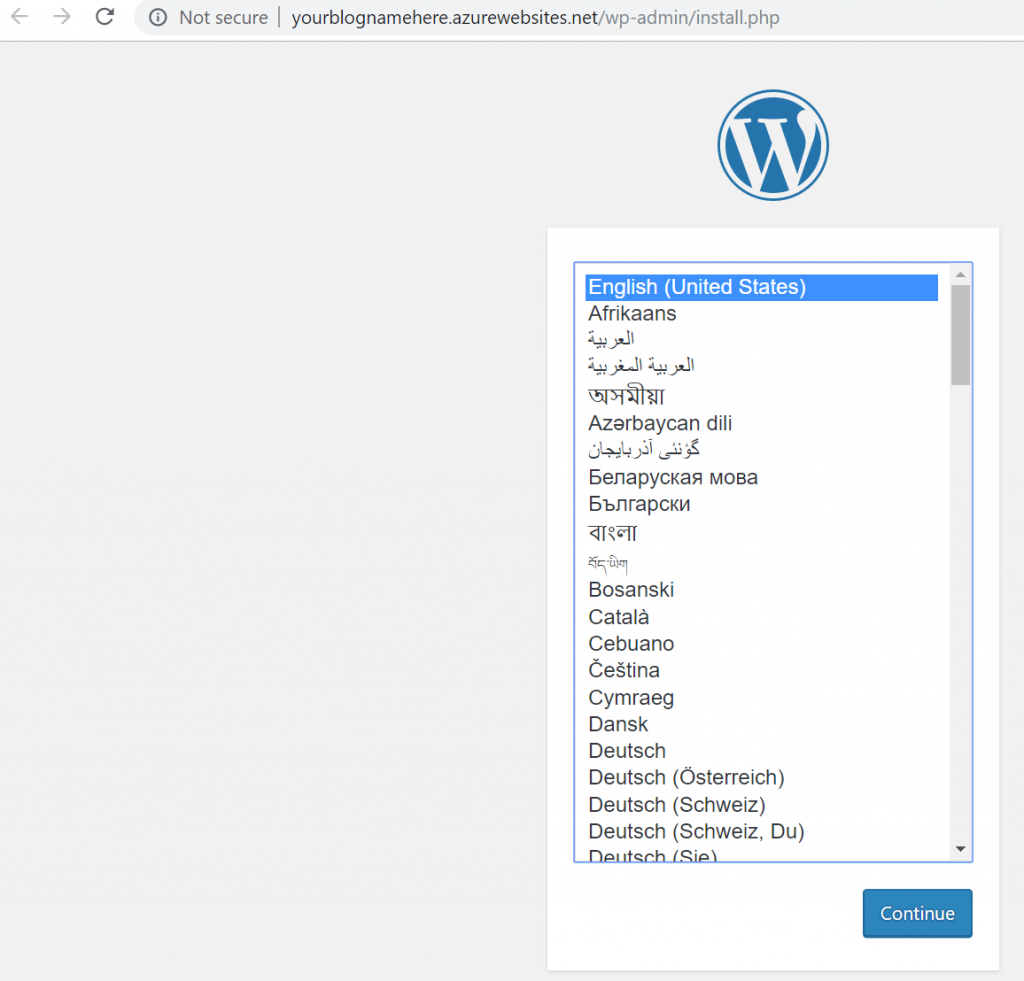
- Explore Azure Machine Learning Studio: Use the provided URL to access the studio at https://ml.azure.com and familiarize yourself with its features.
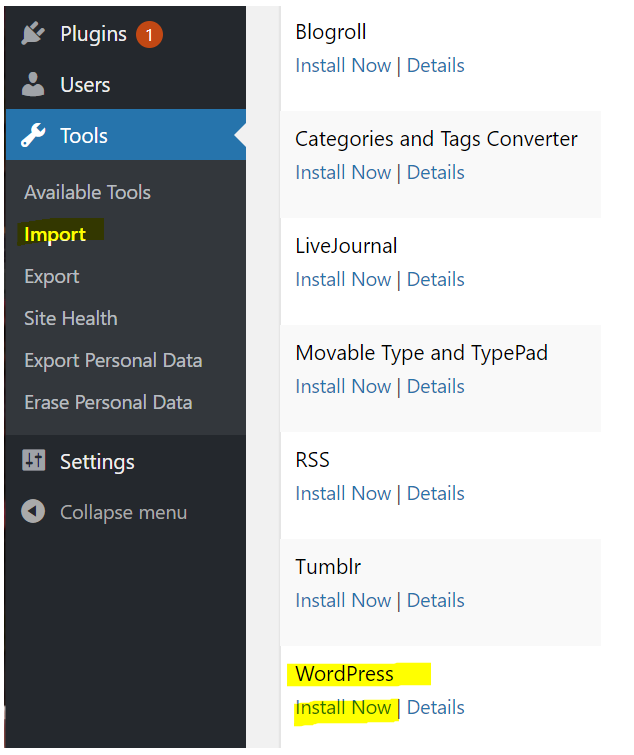
- Set Up Additional Resources: If not auto-created, manually set up a storage account, key vault, and application insights resource in the same region as your workspace.
- Azure Cognitive Services
- Navigate to Cognitive Services: Search for “Cognitive Services” in the portal’s search bar.
- Create a Resource: Click “Create” to start setting up a new Cognitive Services resource.
- Fill in Details: Choose your subscription, create or select an existing resource group, and name your resource.
- Select the Region: Choose a region near you or your users for better performance.
- Review Pricing Tiers: Select an appropriate pricing tier based on your expected usage.
- Review and Create: Confirm all details are correct, then click “Review + create”, followed by “Create”.
- Access Resource Keys: Once deployed, go to the resource, and find the “Keys and Endpoint” section to get your API keys and endpoint URL.
- Integrate with Applications: Use the retrieved keys and endpoint to integrate cognitive services into your applications.
- Azure Logic Apps
- Search for Logic Apps: In the portal, find “Logic Apps” via the search bar.
- Initiate Logic App Creation: Click “Add” or “Create” to start a new Logic App.
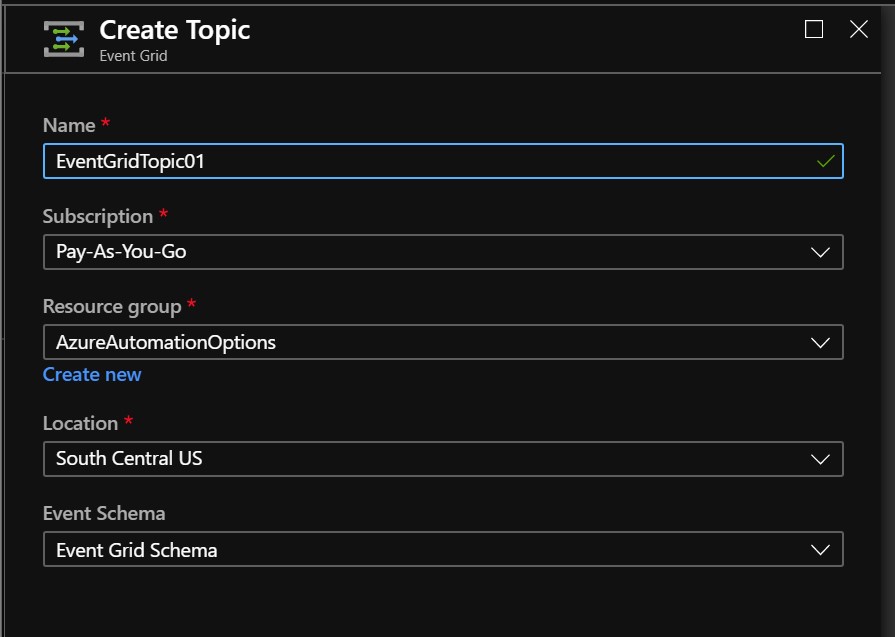
- Configure Basic Settings: Select your subscription, resource group, and enter a name for your Logic App. Choose a region.
- Create the Logic App: After configuring, click “Create” to deploy your Logic App.
- Open Logic App Designer: Once deployed, open the Logic App and navigate to the designer.
- Design the Workflow: We will go over this later! This is where the fun begins!!
Setting up these essential Azure services is a foundational step in creating an environment ready for AI-driven automation. Each service plays a specific role, and together, they provide a powerful toolkit for automating complex and intelligent workflows.
Leveraging Azure Machine Learning
- Create a Machine Learning Model:
- Navigate to Azure Machine Learning Studio.
- Create a new experiment and select a dataset or import your own.
- Choose an algorithm and train your machine learning model.
- Deploy the Model:
- Once your model is trained and evaluated, navigate to the “Models” section.
- Select your model and click “Deploy”. Choose a deployment option (e.g., Azure Container Instance).
- Configure deployment settings like name, description, and compute type.
- Consume the Model:
- After deployment, get the REST endpoint and primary key from the deployment details.
- Use these details to integrate the model into your applications or services.
Utilizing Azure Cognitive Services
- Select a Cognitive Service:
- Determine which Cognitive Service (e.g., Text Analytics, Computer Vision) fits your needs.
- In Azure Portal, navigate to “Cognitive Services” and create a resource for the selected service.
- Configure and Retrieve Keys:
- Once the resource is created, go to the “Keys and Endpoint” section.
- Copy the key and endpoint URL for use in your application.
- Integrate with Your Application:
- Use the provided SDK or REST API to integrate the Cognitive Service into your application.
- Pass the key and endpoint URL in your code to authenticate the service.
Automating with Azure Logic Apps
- Create a New Logic App:
- In Azure Portal, go to “Logic Apps” and create a new app.
- Select your subscription, resource group, and choose a name and region for the app.
- Design the Workflow:
- Open the Logic App Designer.
- Add a trigger (e.g., HTTP request, schedule) to start the workflow.
- Add new steps by searching for connectors (e.g., Azure Functions, Machine Learning).
- Integrate AI Services:
- Add steps that call Azure Machine Learning models or Cognitive Services.
- Configure these steps by providing necessary details like API keys, endpoints, and parameters.
- Save and Test the Logic App:
- Save your changes and use the “Run” button to test the Logic App.
- Check the run history to verify if the workflow executed as expected.