One of the hurdles a company might run into when moving to Azure, especially with Azure Monitor and Log Analytics, is integration with Action Groups. Rarely are the actions of SMS or Email good enough to integrate with an internal Service Management system, so that leaves webhook as the simplest way to get data back into the datacenter. But that leaves one problem – Firewalls.
The Azure backend can change at any time, so it’s important to know what IP addresses the Action Group can originate from – and we can do that with Get-AZNetworkServiceTag.
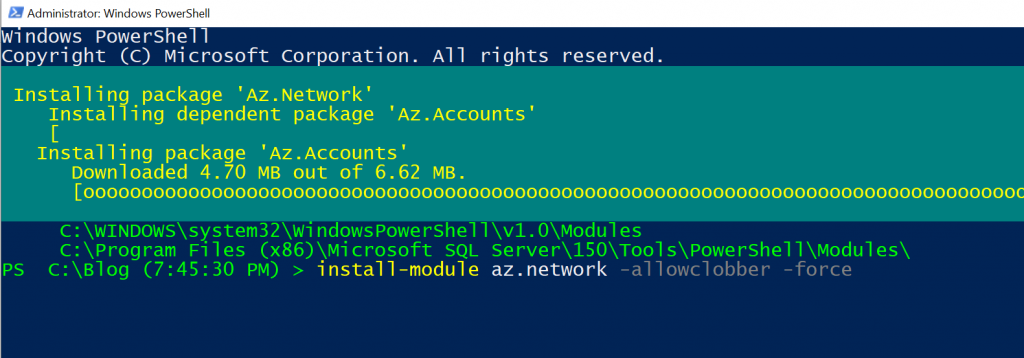
To start, let’s install the az.network module. I am specifying allowclobber and force, to both update dependencies and upgrade existing modules. Make sure you are running or pwsh window or VSCode as an administrator.
install-module az.network -allowclobber -force
Downloading and Installing
If you aren’t already connected, do a quick Connect-AzAccount. It might prompt you for a username/password, and will default to a subscription, so specify an alternative if necessary.
Once connected, we can run the Get-AZNetworkServiceTag cmdlet. We will specify what region we can to get the information for – in this case, EastUS2.
Get-AzNetworkServiceTag -Location eastus2
The ‘values’ property is what we are after. It contains a massive amount of resource types, regions, and address ranges. In our case, let’s just get the Action Groups, specifically for EastUS2.
The other day I was looking at the latest updates to Azure and noticed the handy RSS feed button, and that immediately made me think about automation that could be triggered from it. Obviously you could make a Power App to handle that, but since my head is in Azure Monitor at the moment, I thought – Why Not?
Let’s get that data into the gateway drug of Azure – Log Analytics. This post is a primer on integrating these 2 tools, so if you are experienced with Log Analytics Workspace, feel free to skip ahead! But if you want to see some first steps, follow along! First, we will need a couple of things:
A Log Analytics Workspace
A Logic App
A desired outcome – this is handled by the Workspace and we will cover some of the possibilities in the next couple of posts.
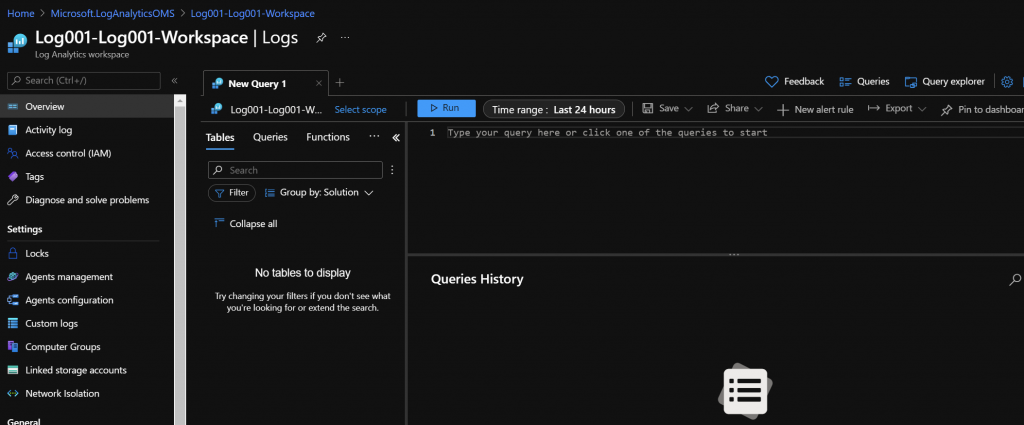
Let’s start. Below you can see my LA Workspace:
As you can see – it’s completely blank because it’s new. Before we create the Logic App, go ahead and select “Agents Management” and copy down the Workspace ID and the Primary (or secondary, I won’t judge) key.
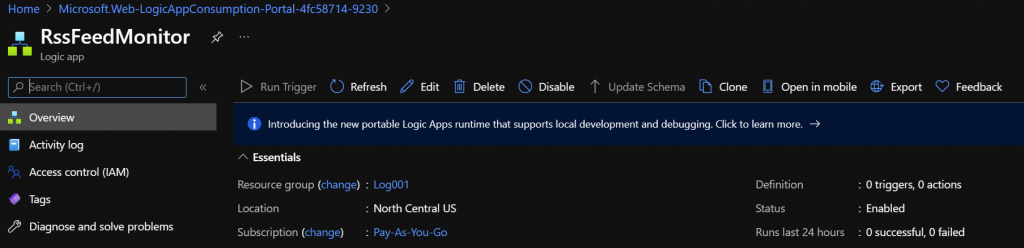
Now it’s time to setup the Logic App. Now before you ask – do I need a Logic App or can I just use the LA Workspace API to send data? Well, if you are asking that question, then you already know the answer – of course you could! The point here is to make it easy to consume the RSS Feed, and not have to write some sort of feed consumer ourselves. We’re lazy, after-all. Here’s the blank Logic App:
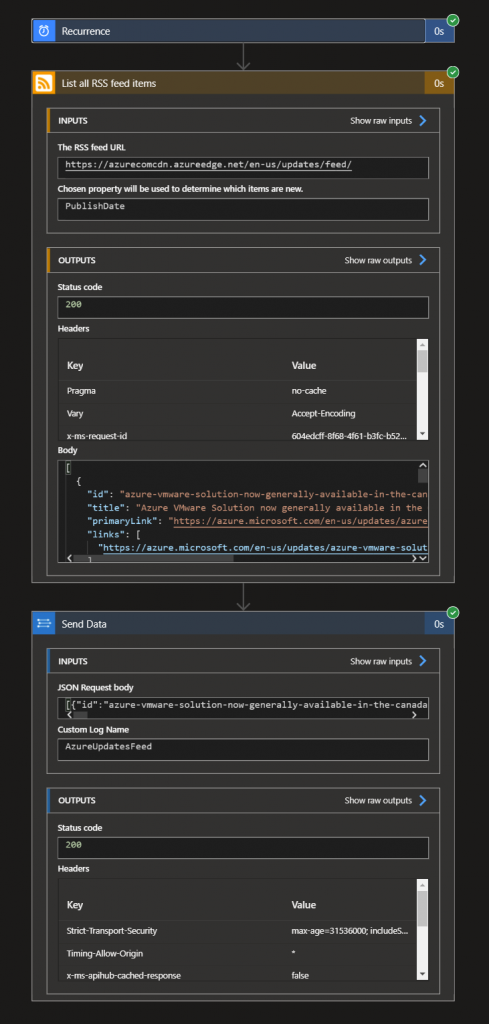
The actual Logic App is pretty straight forward. Just a timer, followed by a RSS Feed grabbing action, then a straight port of the data into the Log Analytics data ingestion action. Something like this:
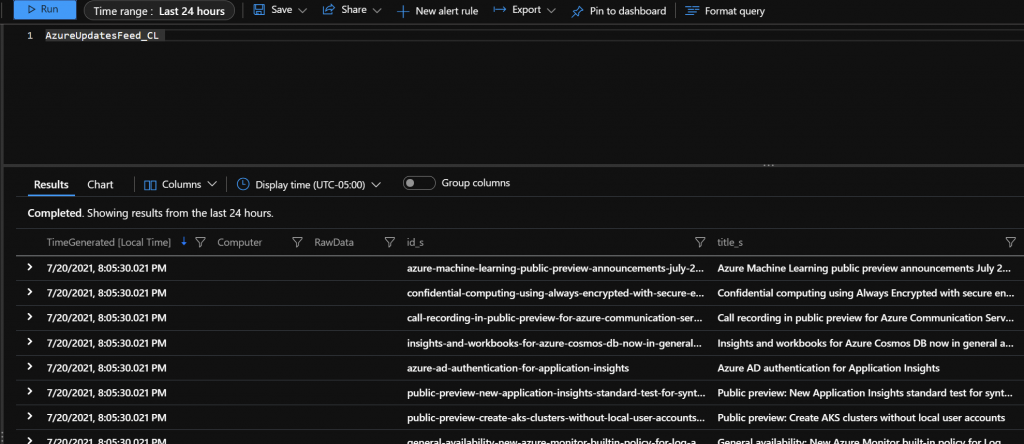
That’s pretty straight forward. After about 15 minutes you should see the data in your workspace:
Notice how the name we gave to the custom log in the Logic App is here, but has “_cl” appended to it? The workspace will do this automatically to any custom log we create. It literally stands for “custom log”. Same thing with the fields in the custom log. The Logic App automatically created the fields, but the workspace will append an underscore and an abbreviation for the type of field….’s’ for string for example.
Now 3 things immediately come to mind – how do we get the right timestamp into the workspace, what are we going to do with it, and how can we only add new items? Over the next couple of posts, we will go over both. Depending on your reoccurrence settings, you might get some dupes, so if you followed along you might want to disable the Logic App for now.
In another of my “Why Not?” series – a category of posts that don’t actually set out to show a widespread use, but rather just highlight something cool I found, I present just how much of a nerd I am.
I love tabletop RPG games – DnD, Pathfinder, Shadowrun, Call of Cthulhu, Earthdawn,etc… You name it, I have probably sat around a table playing it with a group of friends. Our new favorite game to play recently – Pathfinder 2e.
Recently I found something very cool – a really good PF2e character builder/manager called Wanderer’s Guide. I don’t have any contact with the author at all – I am just a fan of the software.
A bit of background before I continue – I have been looking for an API to find raw PF2e data for quite a while. An app might be in the future, but I simply couldn’t find the data that I wanted. The Archive would be awesome to get API access to, but it’s not to be yet.
After moping around for a couple of months, I found this, and an choir of angels began to sing. Wanderers Guide has an API, and it is simple awesome. Grab you free API key, and start to follow along.
We are going to make a fairly standard API call first. Let’s craft the header with the API key you get from your profile. This is pretty straight forward:
$ApiKey = "<Put your Wanderer's Guide API Key here>"
$header = @{"Authorization" = "$apikey" }
Next, let’s look at the endpoints we want to access. Each call will access a category of PF2e data – classes, ancestries, feats, heritages, etc… This lists the categories of data available.
Now we are going to iterate through each endpoint and make the call to retrieve the data. But – since Wanderer’s Guide is nice enough to provide the API for free, we aren’t going to be jerks and constantly pull the full list of data each time we run the script. We want to only pull the data once (per session), so we will check to see if we have already done it.
foreach ($endpoint in $endpoints) {
    if ((Test-Path variable:$endpoint'data') -eq $false){
        "Fetching $endpoint data from $baseurl/$endpoint/all"
        New-Variable -name ($endpoint + 'data') -force -Value (invoke-webrequest -Uri "$baseurl/$endpoint/all" -headers $header)
    }
}
The trick here is the New-Variable cmdlet – it lets us create a variable with a dynamic name while simultaneously filing it with the webrequest data. We can check to see if the variable is already created with the Test-Path cmdlet.
Once we have the data, we need to do some simple parsing. Most of it is pretty straight forward – just convert it from JSON and pick the right property – but a couple of the endpoints need a bit more massaging. Heritages and Backgrounds, specifically.
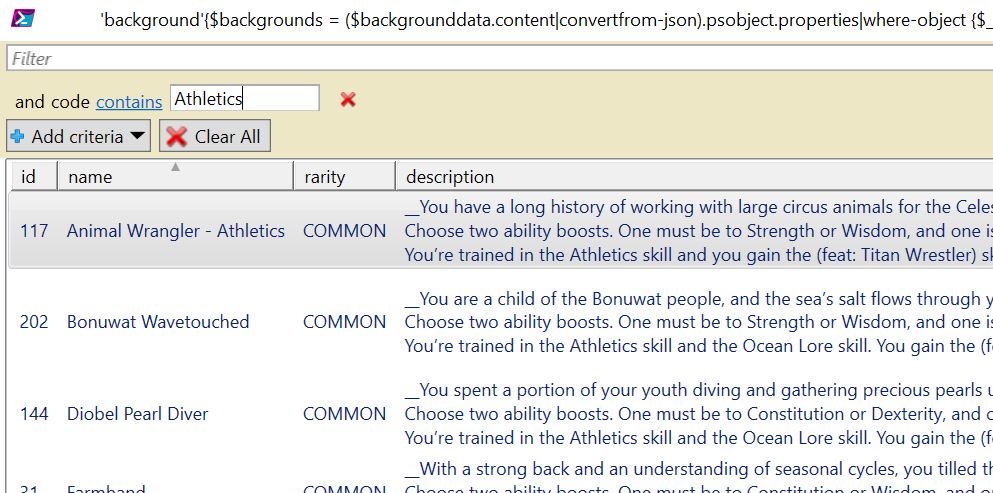
Here is the full script – it’s really handy to actually use out-gridview in order to parse the data. For example, do you want to background that gives training in Athletics – just pull of the background grid and filter away!