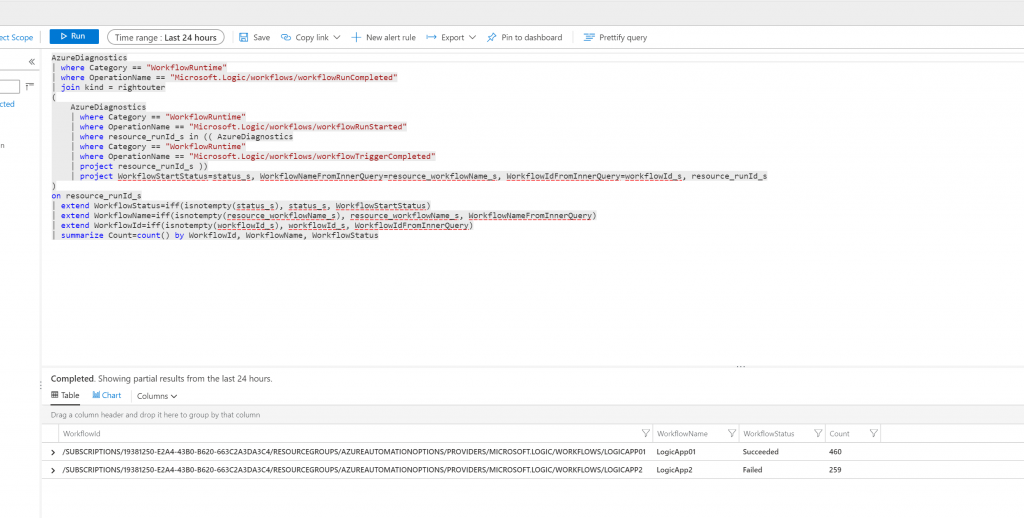
Azure Logic Apps are fantastic—until you need to do something slightly complex. The built-in workflow language is powerful but, let’s be honest, sometimes writing expressions in that JSON-esque nightmare is more painful than debugging a spaghetti-coded PowerShell script written by an intern.
Enter PowerShell in Azure Logic Apps (Standard Edition)—where you can run inline PowerShell scripts, skipping the need for convoluted @{json_expression} gymnastics.
Why?
Readability: Ever tried debugging a concat(split(base64(binary), ',')) expression? Yeah, me neither. PowerShell is just easier to read and debug.
Flexibility: You can manipulate JSON, handle dates, perform string operations, and even call APIs—all in a single PowerShell script instead of chaining actions together.
Less Clicks, More Code: Instead of adding multiple Compose, Condition, and Parse JSON actions, you can just run a PowerShell script inline and return exactly what you need.
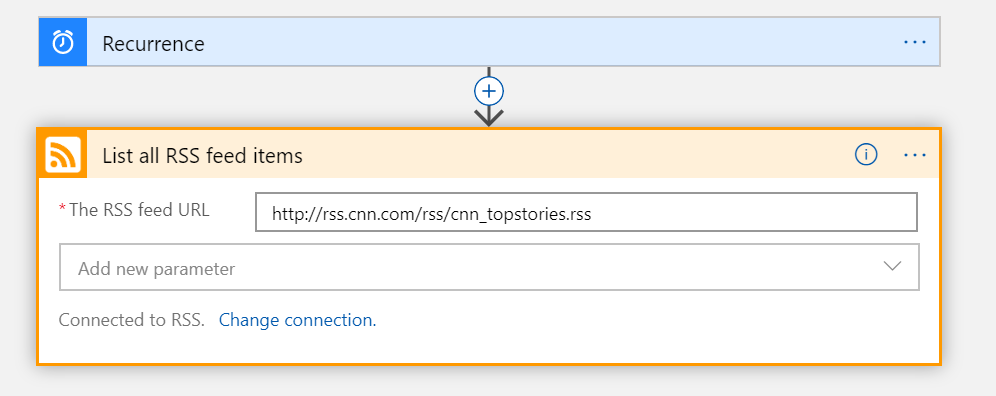
How to Run PowerShell in Azure Standard Logic Apps
Step 1: Add the Inline Code Action
- Open your Azure Logic App (Standard Edition).
- Click “Add an action” in your workflow.
- Search for Inline Code and select it.
Note: This works only in Standard Logic Apps, not Consumption-based ones.
Step 2: Write Your PowerShell Script
The Inline Code action lets you use PowerShell directly inside the workflow.
Here’s a simple example:
param ($inputData)

# Convert input JSON into a PowerShell object
$data = $inputData | ConvertFrom-Json

# Get current timestamp in ISO format
$timestamp = Get-Date -Format "yyyy-MM-ddTHH:mm:ssZ"

# Concatenate values (because Logic Apps JSON expressions are a pain)
$fullName = "$($data.firstName) $($data.lastName)"

# Return an object
@{
    fullName = $fullName
    timestamp = $timestamp
} | ConvertTo-Json -Compress
Step 3: Pass Data Into the Script
- Click the “Parameters” section in the Inline Code action.
- Add a new parameter (e.g.,
inputData). - Pass data from a previous action (like an HTTP request, a database call, or another Logic App action).
When executed, the script will return a structured JSON response—without needing multiple Logic App actions for transformation.
Real-World Use Cases
Date Manipulation: Logic Apps date functions are limited, but PowerShell handles them easily.
Complex String Operations: Need to extract a value from a string? Regex it in PowerShell.
API Calls & Data Formatting: Fetch data, process it, and return the exact structure you need.
PowerShell in Logic Apps Standard is a game-changer. Instead of wrestling with the built-in workflow language, you can just script it. It’s faster, cleaner, and doesn’t require chaining a dozen actions together just to manipulate a date or merge strings.
So next time you’re staring at an ugly @concat expression, ask yourself: “Could I just do this in PowerShell?” The answer is yes—and your future self will thank you.